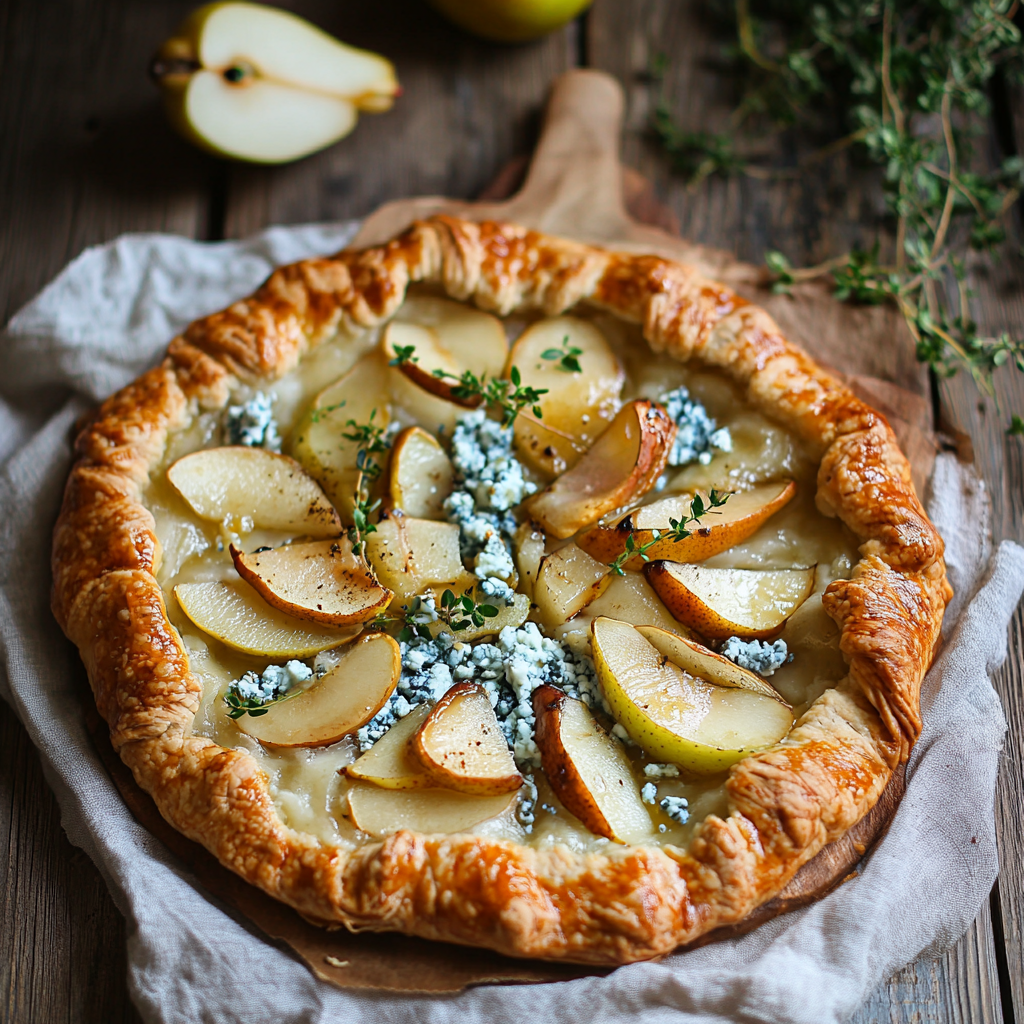
Pear and Blue Cheese Galette
A Pear and Blue Cheese Galette is a delightful mix of sweet and savory flavors, making it an ideal choice for gatherings or a cozy dinner at home. This rustic dish features tender pears, creamy blue cheese, and crunchy walnuts nestled in flaky pastry. Its unique combination of ingredients makes it a standout option for fall occasions, whether as an appetizer or a light meal.
Why You’ll Love This Recipe
- Easy to Prepare: With just a few simple steps, you can create an impressive dish that looks like it took hours to make.
- Flavor Explosion: The rich blue cheese pairs perfectly with the sweetness of pears, creating a taste sensation that’s sure to please.
- Versatile Serving Options: Perfect as an appetizer, side dish, or even a light dinner; this galette fits any occasion.
- Beautiful Presentation: The rustic look of the galette adds charm to your table setting, impressing guests with minimal effort.
Tools and Preparation
Before diving into the recipe, it’s essential to gather your tools. Having everything ready will streamline your cooking process and ensure you don’t miss any steps.
Essential Tools and Equipment
- Baking sheet
- Rolling pin
- Parchment paper
- Mixing bowl
- Pastry brush
Importance of Each Tool
- Baking sheet: Provides an even surface for baking your galette, ensuring it cooks uniformly.
- Rolling pin: Helps roll out the dough evenly, which is crucial for achieving that perfect crust texture.
- Parchment paper: Prevents sticking and makes cleanup easy after baking.
Ingredients
For the Crust
- 1 pie crust (store-bought or homemade)
For the Filling
- 2 ripe pears, thinly sliced
- ½ cup crumbled blue cheese
- ¼ cup walnuts, chopped
- 1 tbsp honey
For the Egg Wash
- 1 egg, beaten
How to Make Pear and Blue Cheese Galette
Step 1: Preheat the Oven
Preheat your oven to 375°F (190°C) to prepare for baking.
Step 2: Roll Out the Pie Crust
- Roll out your pie crust onto a parchment-lined baking sheet. This will serve as the base for your delicious filling.
Step 3: Arrange the Pears
- Place the thinly sliced pears in the center of the crust, leaving about a 2-inch border around the edges. This space is crucial for folding over later.
Step 4: Add Blue Cheese and Walnuts
- Sprinkle the crumbled blue cheese and chopped walnuts evenly over the pear slices. These ingredients will add depth and richness to each bite.
Step 5: Fold Edges Over Filling
- Carefully fold the edges of the pie crust over the filling. Pleat as needed to create a beautiful rustic look.
Step 6: Brush with Egg Wash
- Use a pastry brush to apply the beaten egg over the crust. This step will give your galette a lovely golden color when baked.
Step 7: Bake Until Golden Brown
- Bake in the preheated oven for about 30 minutes or until the crust is golden brown and crisp.
Step 8: Drizzle with Honey Before Serving
Once out of the oven, drizzle honey over the top for an extra touch of sweetness before serving. Enjoy your delightful Pear and Blue Cheese Galette!
How to Serve Pear and Blue Cheese Galette
Serving a Pear and Blue Cheese Galette is all about enhancing its rustic charm. This dish can be enjoyed warm or at room temperature, making it versatile for various occasions.
As an Appetizer
- Serve alongside a mixed greens salad for a delightful contrast.
- Pair with a light white wine or sparkling water for a refreshing touch.
With a Simple Salad
- A spinach salad with walnuts and balsamic vinaigrette complements the flavors beautifully.
- Add slices of fresh pear to the salad for a cohesive taste experience.
For a Light Dinner
- Present it with roasted vegetables for added texture and flavor.
- Include a creamy soup, like butternut squash, to round out the meal.
At Parties or Gatherings
- Cut into smaller pieces for easy sharing.
- Arrange on a charcuterie board with nuts and seasonal fruits.
How to Perfect Pear and Blue Cheese Galette
Creating the perfect Pear and Blue Cheese Galette requires attention to detail. Here are some tips to ensure your galette turns out delicious every time.
- Use ripe pears – Choose pears that are firm yet slightly soft to ensure they bake well without becoming mushy.
- Pre-bake the crust – For extra crispiness, consider blind-baking your pie crust before adding the filling.
- Balance flavors – Adjust the amount of blue cheese based on your taste; too much can overpower the pears.
- Experiment with toppings – Try adding fresh herbs like thyme or rosemary to enhance the savory elements of the galette.
- Let it cool slightly – Allowing the galette to cool for a few minutes before slicing helps maintain its shape.
Best Side Dishes for Pear and Blue Cheese Galette
Pairing side dishes with your Pear and Blue Cheese Galette elevates your meal. Here are some great options that complement its flavors.
- Mixed Greens Salad – A simple mix of greens dressed in olive oil adds freshness.
- Roasted Brussels Sprouts – Tossed with balsamic vinegar, these sprouts provide a delightful crunch.
- Caramelized Carrots – Sweet, tender carrots balance the saltiness of blue cheese perfectly.
- Butternut Squash Soup – Creamy and smooth, this soup warms up any meal setting.
- Quinoa Salad – A protein-packed option with herbs, nuts, and dried fruits adds texture.
- Grilled Asparagus – Lightly charred asparagus adds sophistication and flavor contrast.
Common Mistakes to Avoid
Making a Pear and Blue Cheese Galette can be easy, but there are a few common pitfalls to steer clear of.
- Not using ripe pears: Choosing unripe pears can lead to a bland filling. Always select ripe, sweet pears for the best flavor.
- Ignoring the pie crust temperature: A warm crust can become soggy. Ensure your pie crust is chilled before rolling it out for a flaky texture.
- Overstuffing the galette: While you might be tempted to add more filling, overstuffing can cause the galette to break. Stick to the recommended amounts for perfect results.
- Skipping the egg wash: An egg wash gives your crust a beautiful golden color. Don’t skip this step; brush it on for an appealing finish.
- Not letting it cool before slicing: Cutting into the galette too soon can cause it to fall apart. Allow it to cool slightly for cleaner slices.

Storage & Reheating Instructions
Refrigerator Storage
- Store leftover galette in an airtight container.
- It will keep well for up to 3 days in the refrigerator.
Freezing Pear and Blue Cheese Galette
- Wrap the cooled galette tightly in plastic wrap or aluminum foil.
- You can freeze it for up to 2 months. Thaw overnight in the refrigerator before reheating.
Reheating Pear and Blue Cheese Galette
- Oven: Preheat oven to 350°F (175°C) and bake for about 10-15 minutes or until heated through.
- Microwave: Heat slices on medium power for 30 seconds at a time until warm. This method may make the crust less crispy.
- Stovetop: Place slices in a skillet over low heat, covering with a lid. Heat for about 5-7 minutes until warmed through.
Frequently Asked Questions
Here are some common questions about making a Pear and Blue Cheese Galette.
Can I use other cheeses instead of blue cheese?
Yes, you can substitute blue cheese with goat cheese or feta for a different flavor profile while still maintaining creaminess.
How do I ensure my galette crust is flaky?
Keeping your ingredients cold and not overworking the dough are key steps in achieving a flaky crust.
What fruits pair well with blue cheese?
Fruits like figs, apples, and cranberries also complement blue cheese nicely if you want to experiment beyond pears.
Can I make this recipe ahead of time?
Absolutely! You can prepare the filling and pie crust separately, then assemble and bake just before serving.
Is this Pear and Blue Cheese Galette suitable for vegetarians?
Yes! This recipe is entirely vegetarian-friendly as it contains no meat products.
Final Thoughts
The Pear and Blue Cheese Galette is an elegant dish that’s perfect as an appetizer or light dinner. Its combination of sweet pears, creamy blue cheese, and crunchy walnuts offers delightful flavors that are sure to impress your guests. Feel free to customize your galette by adding different nuts or using various types of cheese to suit your taste!
Pear and Blue Cheese Galette

Indulge in the delightful combination of sweet and savory with this Pear and Blue Cheese Galette. A perfect dish for gatherings or a cozy dinner, this rustic tart features tender pears, creamy blue cheese, and crunchy walnuts enveloped in a flaky crust. Its unique flavors make it an ideal choice for autumn occasions, whether served as an appetizer or a light meal. Easy to prepare yet impressive in presentation, this galette is sure to be a hit with friends and family alike.
- Prep Time: 15 minutes
- Cook Time: 30 minutes
- Total Time: 45 minutes
- Yield: Serves approximately 8 slices 1x
- Category: Appetizer
- Method: Baking
- Cuisine: American
Ingredients
- 1 pie crust (store-bought or homemade)
- 2 ripe pears, thinly sliced
- ½ cup crumbled blue cheese
- ¼ cup walnuts, chopped
- 1 tbsp honey
- 1 egg, beaten (for egg wash)
Instructions
- Preheat your oven to 375°F (190°C).
- Roll out your pie crust on a parchment-lined baking sheet.
- Arrange the pear slices in the center of the crust, leaving a 2-inch border.
- Sprinkle the blue cheese and walnuts over the pears.
- Fold the edges of the crust over the filling, pleating as necessary.
- Brush the crust with the beaten egg for a golden finish.
- Bake for about 30 minutes until the crust is golden brown.
- Drizzle honey over the top before serving.
Nutrition
- Serving Size: 1 slice (approx. 100g)
- Calories: 310
- Sugar: 8g
- Sodium: 350mg
- Fat: 20g
- Saturated Fat: 6g
- Unsaturated Fat: 12g
- Trans Fat: 0g
- Carbohydrates: 28g
- Fiber: 2g
- Protein: 6g
- Cholesterol: 55mg